<博客建立历程>阿里云建站10——通过github提供图片链接
目录:
说明
博主已经弃用了这种方式,主要是因为从github主机进行获取图片耗时过长,所以弃用了,通过http服务的虚拟主机开启81端口提供http服务实现了提供图片链接方式,现在本博客的所有图片都是通过这种方式,详情可以看apache虚拟主机和nginx虚拟主机。
开始我们的Github
注册github
进入就是注册界面
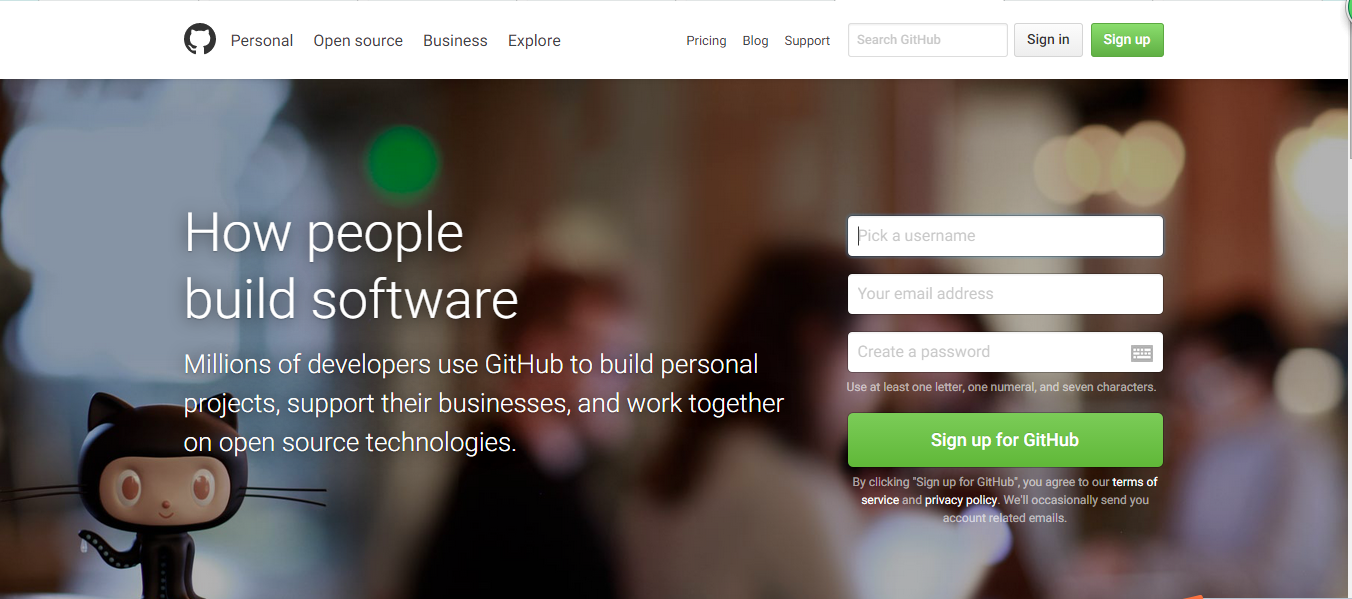
进行注册即可登录。
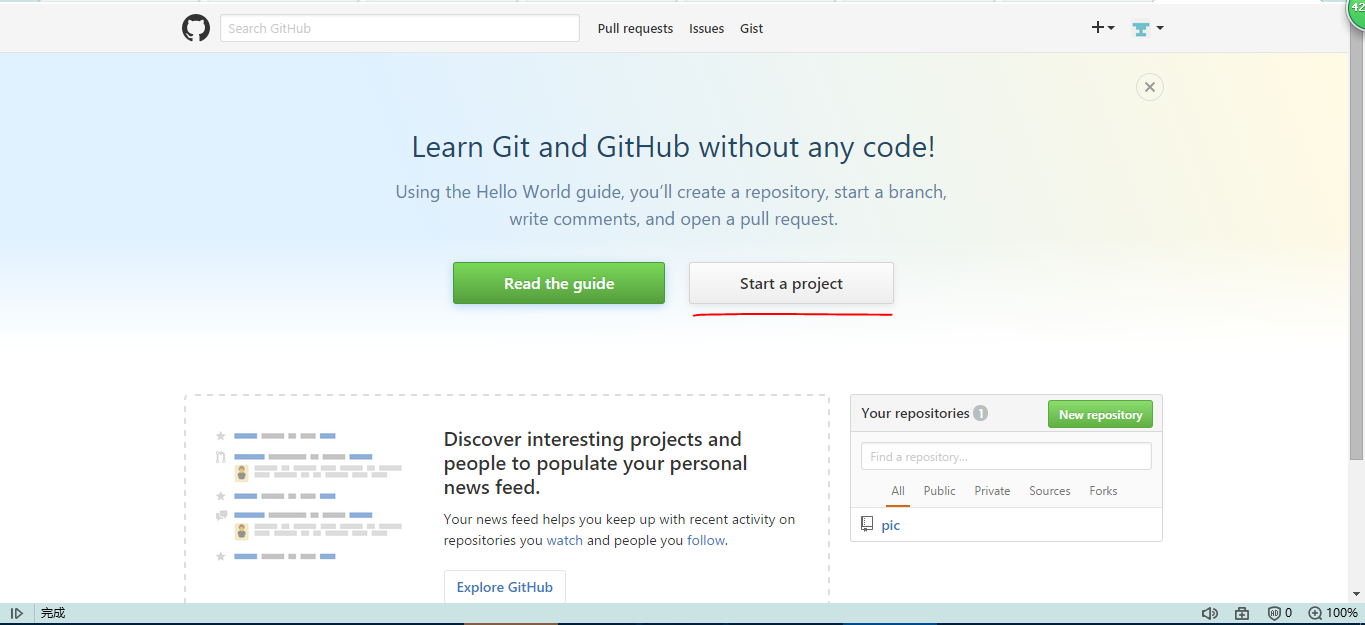
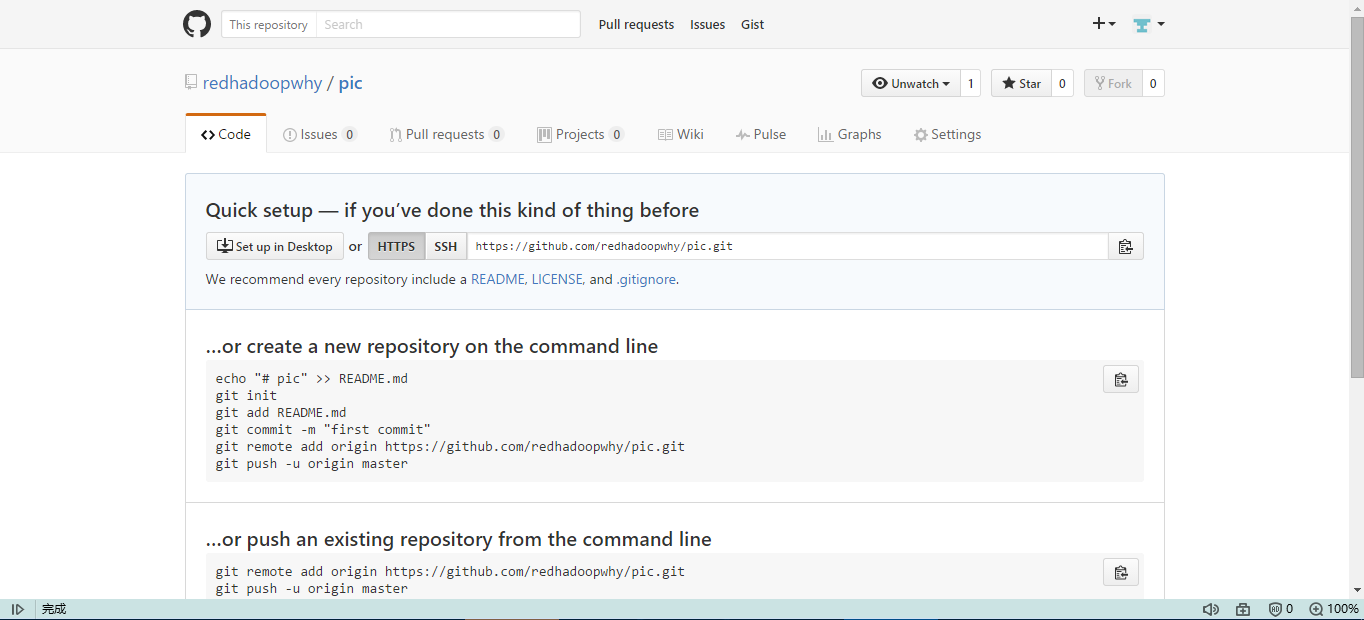
创建github项目
Start a project
给自己的项目起一个名字
我的这个项目是为了给我的blog提供连接的
暂时没有什么好的办法
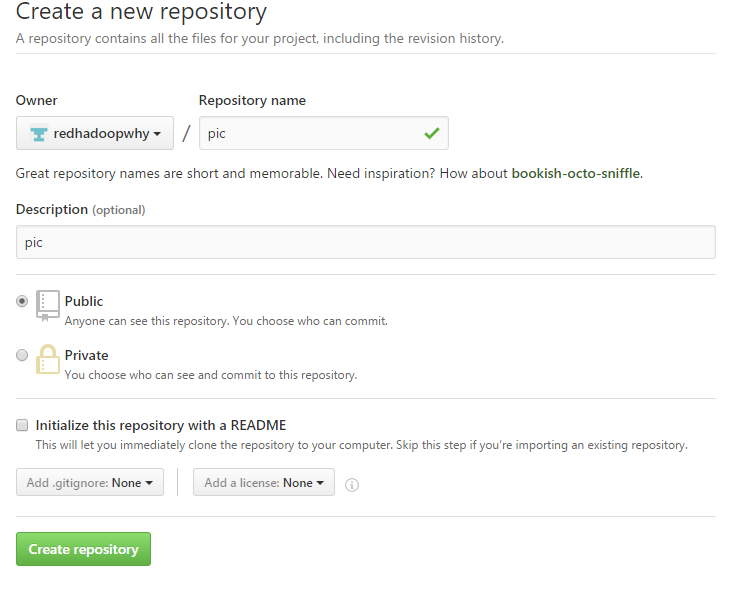
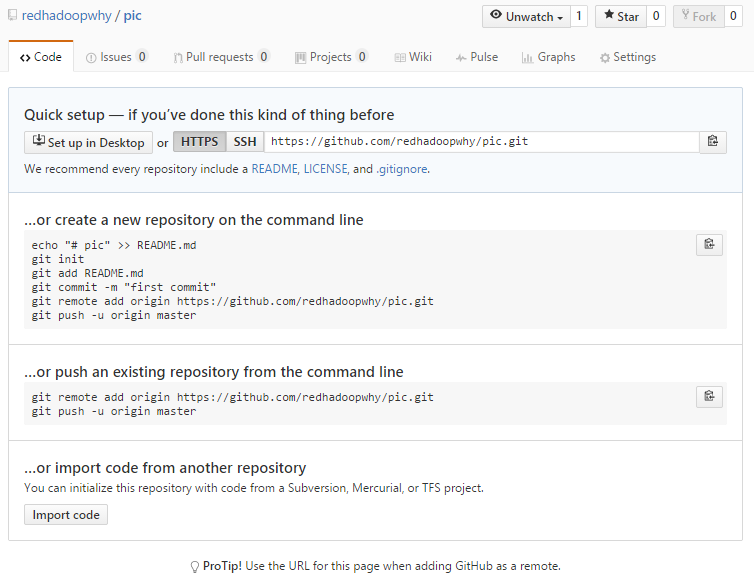
然后就可以按着这个来进行项目的推送了
github与云主机无密码push
yum git
[root@why ~]# yum install git
ssh生成私钥和公钥
[root@why ~]# ssh-keygen -t rsa -C "93216193@qq.com"
Generating public/private rsa key pair.
Enter file in which to save the key (/root/.ssh/id_rsa):
Created directory '/root/.ssh'.
Enter passphrase (empty for no passphrase):
Enter same passphrase again:
Your identification has been saved in /root/.ssh/id_rsa.
Your public key has been saved in /root/.ssh/id_rsa.pub.
The key fingerprint is:
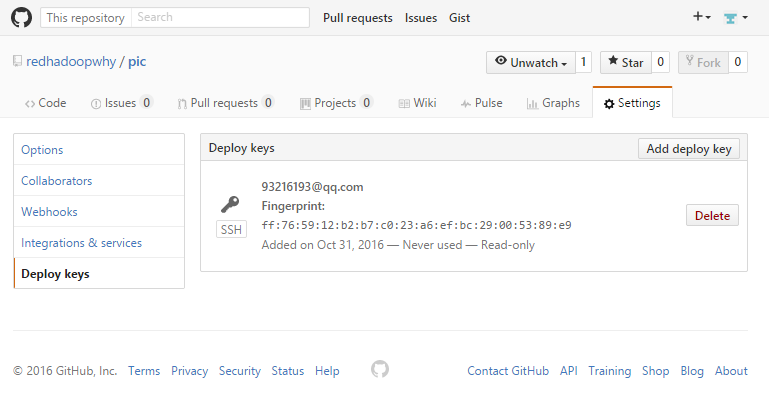
ff:76:59:12:b2:b7:c0:23:a6:ef:bc:29:00:53:89:e9 93216193@qq.com
The key's randomart image is:
+--[ RSA 2048]----+
| o . |
| o o |
| . . |
| E . . |
| o S . o . |
| . .o = o .|
| . o.. + = |
| o. o. + |
| +*o.. |
+-----------------+
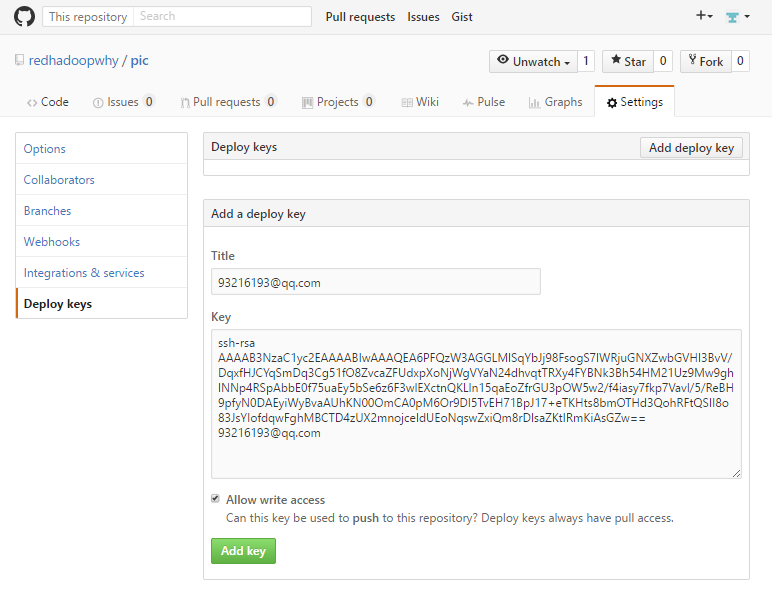
添加公钥
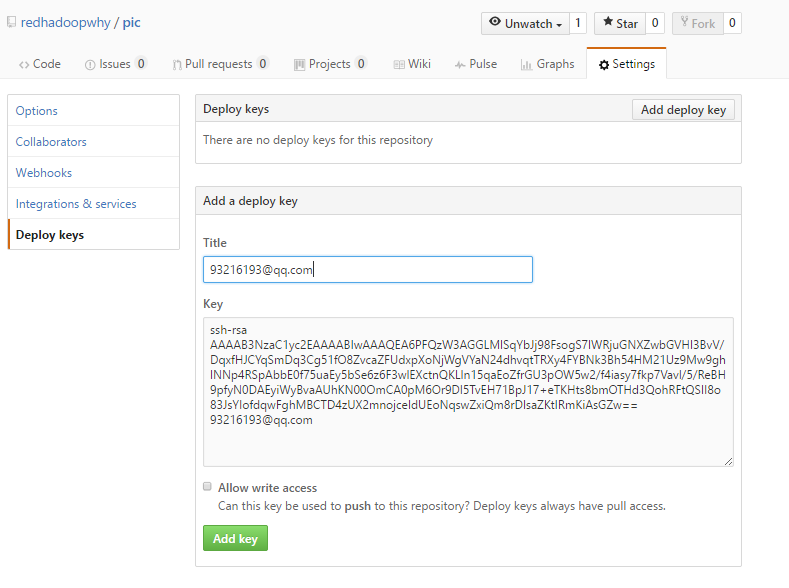
下边的公钥可以通过
[root@why ~]# cat /root/.ssh/id_rsa.pub获得
这样就添加成功
测试是否成功
[root@why ~]# ssh -T git@github.com
The authenticity of host 'github.com (192.30.253.112)' can't be established.
RSA key fingerprint is 16:27:ac:a5:76:28:2d:36:63:1b:56:4d:eb:df:a6:48.
Are you sure you want to continue connecting (yes/no)? yes
Warning: Permanently added 'github.com,192.30.253.112' (RSA) to the list of known hosts.
Hi redhadoopwhy/pic! You've successfully authenticated, but GitHub does not provide shell access.
添加git用户名和邮箱
[root@why ~]# git config --global user.name redhadoopwhy
[root@why ~]# git config --global user.email 93216193@qq.com
项目推送
创建项目同名文件夹
[root@why ~]# mkdir pic
[root@why ~]# cd pic/
[root@why pic]# ll
total 0
创建项目说明README.md
[root@why pic]# echo "# pic" >> README.md
git初始化
[root@why pic]# git init
Initialized empty Git repository in /root/pic/.git/
将项目文件提交到本地暂存区
[root@why pic]# git add README.md
提交说明
[root@why pic]# git commit -m "first commit"
[master (root-commit) 41fbbce] first commit
 1 files changed, 1 insertions(+), 0 deletions(-)
 create mode 100644 README.md
添加远程仓库地址
[root@why pic]# git remote add origin
报错信息
https://github.com/redhadoopwhy/pic.git
[root@why pic]# git push -u origin master
error: The requested URL returned error: 403 Forbidden while accessing https://github.com/redhadoopwhy/pic.git/info/refs

fatal: HTTP request failed
修改隐藏的git配置文件
[root@why pic]# vi .git/config
[root@why pic]# cat !$
cat .git/config
[core]
    repositoryformatversion = 0
    filemode = true
    bare = false
    logallrefupdates = true
[remote "origin"]
    url = https://why@github.com/redhadoopwhy/pic.git
    fetch = +refs/heads/*:refs/remotes/origin/*
客户端文件提交
[root@why pic]# git push -u origin master
Password:    #这里输入的是你github的密码
Counting objects: 3, done.
Writing objects: 100% (3/3), 216 bytes, done.
Total 3 (delta 0), reused 0 (delta 0)
To https://redhadoopwhy@github.com/redhadoopwhy/pic.git
 * [new branch]      master -> master
Branch master set up to track remote branch master from origin.
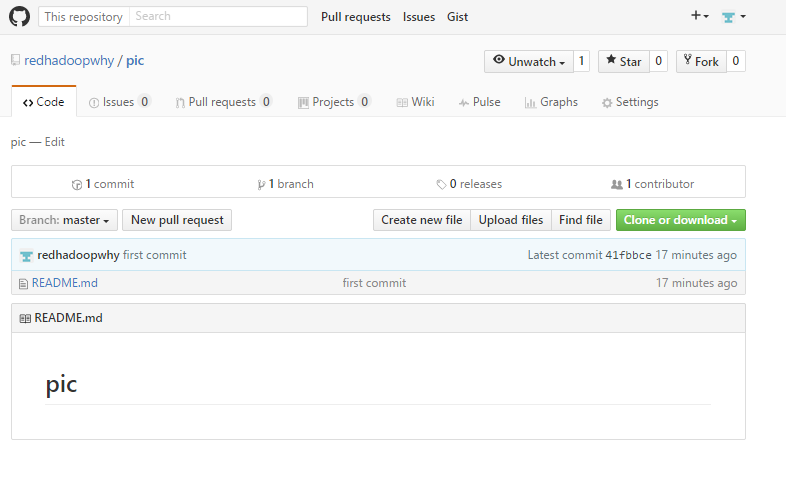
提交成功了,但是还是要输入密码,是因为选错模式了,选的是httpd模式。 我们先去看一下我们提交的README.md文件。
这种是http方法push每次都要输入密码,我们配置的http方式push,换成ssh的方式就不用密码了。
设置ssh登录方式
查看远程服务器地址和仓库名称
[root@why pic]# git remote -v
origin  https://redhadoopwhy@github.com/redhadoopwhy/pic.git (fetch)
origin  https://redhadoopwhy@github.com/redhadoopwhy/pic.git (push)
删除git origin远程仓库
[root@why pic]# git remote rm origin
添加git origin远程仓库
[root@why pic]# git remote add origin git@github.com:redhadoopwhy/pic.git
[root@why pic]# git remote -v
origin  git@github.com:redhadoopwhy/pic.git (fetch)
origin  git@github.com:redhadoopwhy/pic.git (push)
传入图片
根据自己需要上传即可
删除数据
[root@why pic]# git push -u origin master
ERROR: The key you are authenticating with has been marked as read only.
fatal: The remote end hung up unexpectedly
只有read only权限。
那是因为刚才我们在那边没有选这个Allow write access
删除重新创建一个即可
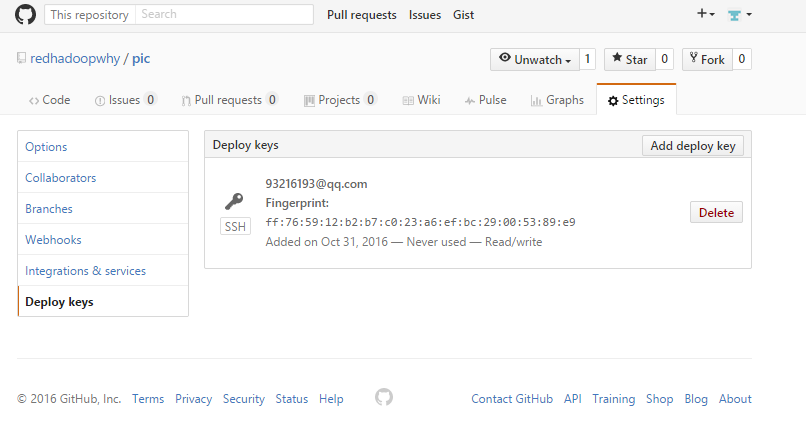
这样就是Read/write了
[root@why pic]# ll
total 184
-rw-r--r-- 1 root root     6 Oct 31 01:20 README.md
-rw-r--r-- 1 root root 51105 Oct 18 17:07 阿里云建站1.1.png
-rw-r--r-- 1 root root  3899 Oct 18 18:05 阿里云建站1.2.png
-rw-r--r-- 1 root root 23709 Oct 18 18:06 阿里云建站1.3.png
-rw-r--r-- 1 root root 85019 Oct 18 18:20 阿里云建站1.4.png
-rw-r--r-- 1 root root 12942 Oct 18 18:20 阿里云建站1.5.png
[root@why pic]# git add .
[root@why pic]# git commit -m "two commit"
[master dd4220b] two commit
 5 files changed, 0 insertions(+), 0 deletions(-)
 create mode 100644 "\351\230\277\351\207\214\344\272\221\345\273\272\347\253\2311.1.png"
 create mode 100644 "\351\230\277\351\207\214\344\272\221\345\273\272\347\253\2311.2.png"
 create mode 100644 "\351\230\277\351\207\214\344\272\221\345\273\272\347\253\2311.3.png"
 create mode 100644 "\351\230\277\351\207\214\344\272\221\345\273\272\347\253\2311.4.png"
 create mode 100644 "\351\230\277\351\207\214\344\272\221\345\273\272\347\253\2311.5.png"

[root@why pic]# git push -u origin master
Counting objects: 8, done.
Compressing objects: 100% (7/7), done.
Writing objects: 100% (7/7), 160.73 KiB, done.
Total 7 (delta 0), reused 0 (delta 0)
To git@github.com:redhadoopwhy/pic.git
   41fbbce..dd4220b  master -> master
Branch master set up to track remote branch master from origin.
刷新一下网上的githua即可。
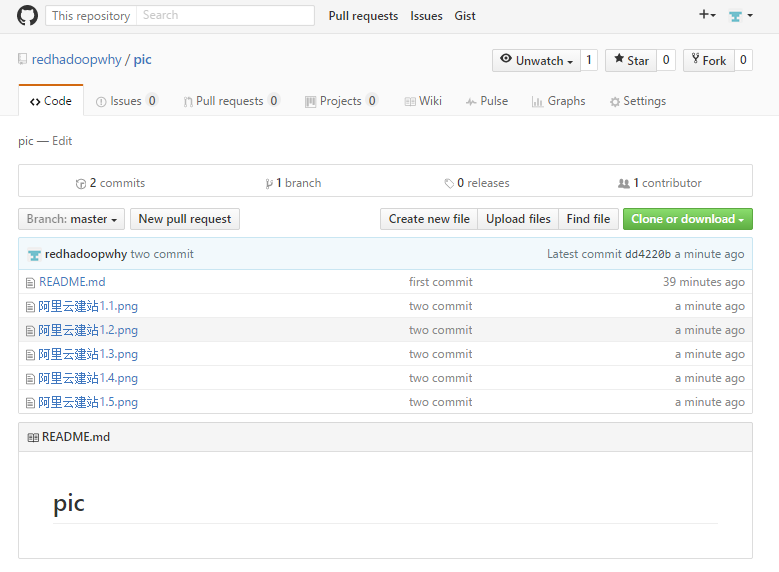
获取图片链接
通过右击,选择“复制链接地址”即可得到图片地址。
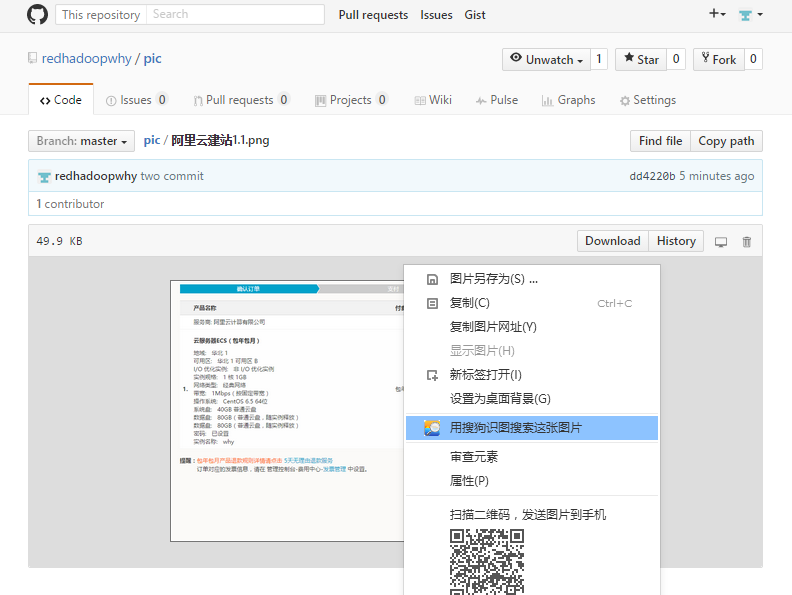
看下我们写成的效果吧。
还有一点就是markdown的语法支持的不全面,例如```显示代码的时候不能实现,很蛋疼,不过已经实现我对博客的要求了。 以后慢慢完善。
最后说一下
我本来想通过QQ空间的图片链接呢,可是是这个结果。