harbor
目录:
harbor
Harbor是一个企业级的Docker Registry, 更多参考harbor
安装docker-compose
https://github.com/docker/compose/releases
curl -L https://github.com/docker/compose/releases/download/1.16.0/docker-compose-`uname -s`-`uname -m` > /usr/local/bin/docker-compose
chmod +x /usr/local/bin/docker-compose
安装Harbor
下载源码
wget https://github.com/vmware/harbor/releases/download/v1.1.2/harbor-online-installer-v1.1.2.tgz
tar xf harbor-online-installer-v1.1.2.tgz
cd harbor
修改配置
harbor.cfg
# 指定 hostname,一般为IP,或者域名,用于登录 Web UI 界面
hostname = 10.50.8.34
# URL 访问方式
ui_url_protocol = https
# 邮件相关信息配置,如忘记密码发送邮件
email_server = smtp.whysdomain.com
email_server_port = 25
email_username = why@whysdomain.com
email_password = WHYwhy4302
email_from = why
email_ssl = false

# harbor admin密码
harbor_admin_password = harbor12345
# 指定 Harbor 的权限验证方式,Harbor支持本地的mysql数据存储密码,同时也支持LDAP
auth_mode = db_auth
# mysql 数据库 root 账户密码
db_password = root123

# 是否允许开放注册
self_registration = on

# 允许自签名证书
customize_crt = on

# 自签名证书信息
ssl_cert = /root/harbor/harbor.crt
ssl_cert_key = /root/harbor/harbor.key
secretkey_path = /data

crt_country = CN
crt_state = State
crt_location = CN
crt_organization = why
crt_organizationalunit = why
crt_commonname = whysdomain.com
crt_email = why.whysdomain.com
创建CA证书
$ openssl req -newkey rsa:4096 -nodes -sha256 -keyout ca.key -x509 -days 9999 -out ca.crt
Generating a 4096 bit RSA private key
.++
...........................................................................++
writing new private key to 'ca.key'
-----
You are about to be asked to enter information that will be incorporated
into your certificate request.
What you are about to enter is what is called a Distinguished Name or a DN.
There are quite a few fields but you can leave some blank
For some fields there will be a default value,
If you enter '.', the field will be left blank.
-----
Country Name (2 letter code) [XX]:CN
State or Province Name (full name) []:why
Locality Name (eg, city) [Default City]:BeiJing
Organization Name (eg, company) [Default Company Ltd]:Culiu
Organizational Unit Name (eg, section) []:ChuChuJie
Common Name (eg, your name or your server's hostname) []:Harbor
Email Address []:wanghongyu@chuchujie.com
生成证书签名请求
$ openssl req -newkey rsa:4096 -nodes -sha256 -keyout harbor.key -out harbor.csr
Generating a 4096 bit RSA private key
.............................................................++
.......................................................................................................................++
writing new private key to 'harbor.key'
-----
You are about to be asked to enter information that will be incorporated
into your certificate request.
What you are about to enter is what is called a Distinguished Name or a DN.
There are quite a few fields but you can leave some blank
For some fields there will be a default value,
If you enter '.', the field will be left blank.
-----
Country Name (2 letter code) [XX]:CN
State or Province Name (full name) []:why
Locality Name (eg, city) [Default City]:BeiJing
Organization Name (eg, company) [Default Company Ltd]:Culiu
Organizational Unit Name (eg, section) []:ChuChuJie
Common Name (eg, your name or your server's hostname) []:Harbor
Email Address []:wanghongyu@chuchujie.com

Please enter the following 'extra' attributes
to be sent with your certificate request
A challenge password []:why123456
An optional company name []:wanghongyu@chuchujie.com
生成注册表主机的证书
$ openssl x509 -req -days 365 -in harbor.csr -CA ca.crt -CAkey ca.key -CAcreateserial -out harbor.crt
Signature ok
subject=/C=CN/ST=why/L=BeiJing/O=Culiu/OU=ChuChuJie/CN=Harbor/emailAddress=wanghongyu@chuchujie.com
Getting CA Private Key
注册表主机
$ echo subjectAltName = IP:10.50.8.34 > extfile.cnf
$ openssl x509 -req -days 9999 -in harbor.csr -CA ca.crt -CAkey ca.key -CAcreateserial -extfile extfile.cnf -out harbor.crt
Signature ok
subject=/C=CN/ST=why/L=BeiJing/O=Culiu/OU=ChuChuJie/CN=Harbor/emailAddress=wanghongyu@chuchujie.com
Getting CA Private Key
创建ca证书目录并拷贝ca证书
$ cd /etc/pki/ca-trust/source/anchors/
$ cp /root/harbor/ca.crt .
$ systemctl restart docker
生成相关配置
$ ./prepare
loaded secret from file: /data/secretkey
Generated configuration file: ./common/config/nginx/nginx.conf
Generated configuration file: ./common/config/adminserver/env
Generated configuration file: ./common/config/ui/env
Generated configuration file: ./common/config/registry/config.yml
Generated configuration file: ./common/config/db/env
Generated configuration file: ./common/config/jobservice/env
Generated configuration file: ./common/config/jobservice/app.conf
Generated configuration file: ./common/config/ui/app.conf
Generated certificate, key file: ./common/config/ui/private_key.pem, cert file: ./common/config/registry/root.crt
The configuration files are ready, please use docker-compose to start the service.
编译image并启动
Harbor服务就会根据当期目录下的docker-compose.yml开始下载依赖的镜像
./install.sh
默认端口为80,如果端口冲突可以修改docker-compose.yml
harbor启动和关闭
[root@why 18:17:19 harbor]#docker-compose down
Stopping harbor-jobservice  ... done
Stopping harbor-ui          ... done
Stopping harbor-adminserver ... done
Stopping registry           ... done
Stopping harbor-db          ... done
Stopping harbor-log         ... done
Removing nginx              ... done
Removing harbor-jobservice  ... done
Removing harbor-ui          ... done
Removing harbor-adminserver ... done
Removing registry           ... done
Removing harbor-db          ... done
Removing harbor-log         ... done
Removing network harbor_harbor
[root@why 18:22:55 harbor]#docker-compose up -d
Creating network "harbor_harbor" with the default driver
Creating harbor-log ...
Creating harbor-log ... done
Creating harbor-db ...
Creating harbor-adminserver ...
Creating registry ...
Creating harbor-adminserver
Creating harbor-db
Creating registry ... done
Creating harbor-ui ...
Creating harbor-ui ... done
Creating harbor-jobservice ...
Creating nginx ...
Creating harbor-jobservice
Creating nginx ... done
使用harbor
登录
直接使用当时配置的URL来访问即可
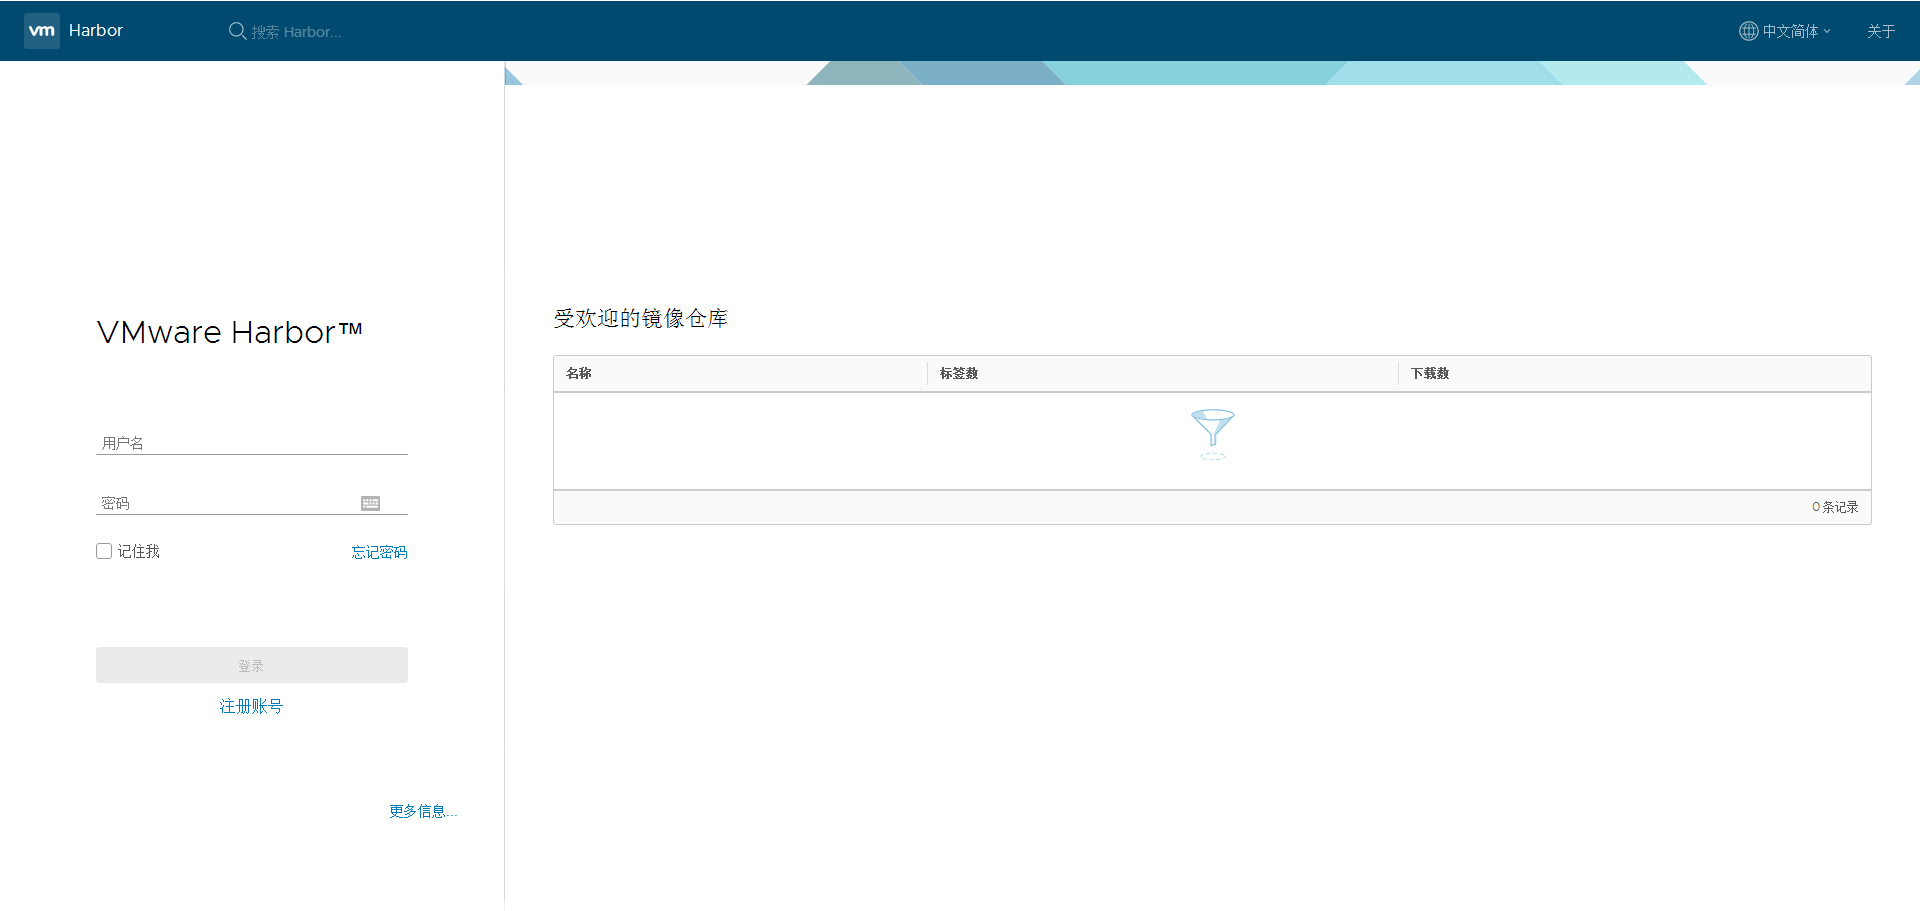
用户名admin,密码为配置的密码
登录后
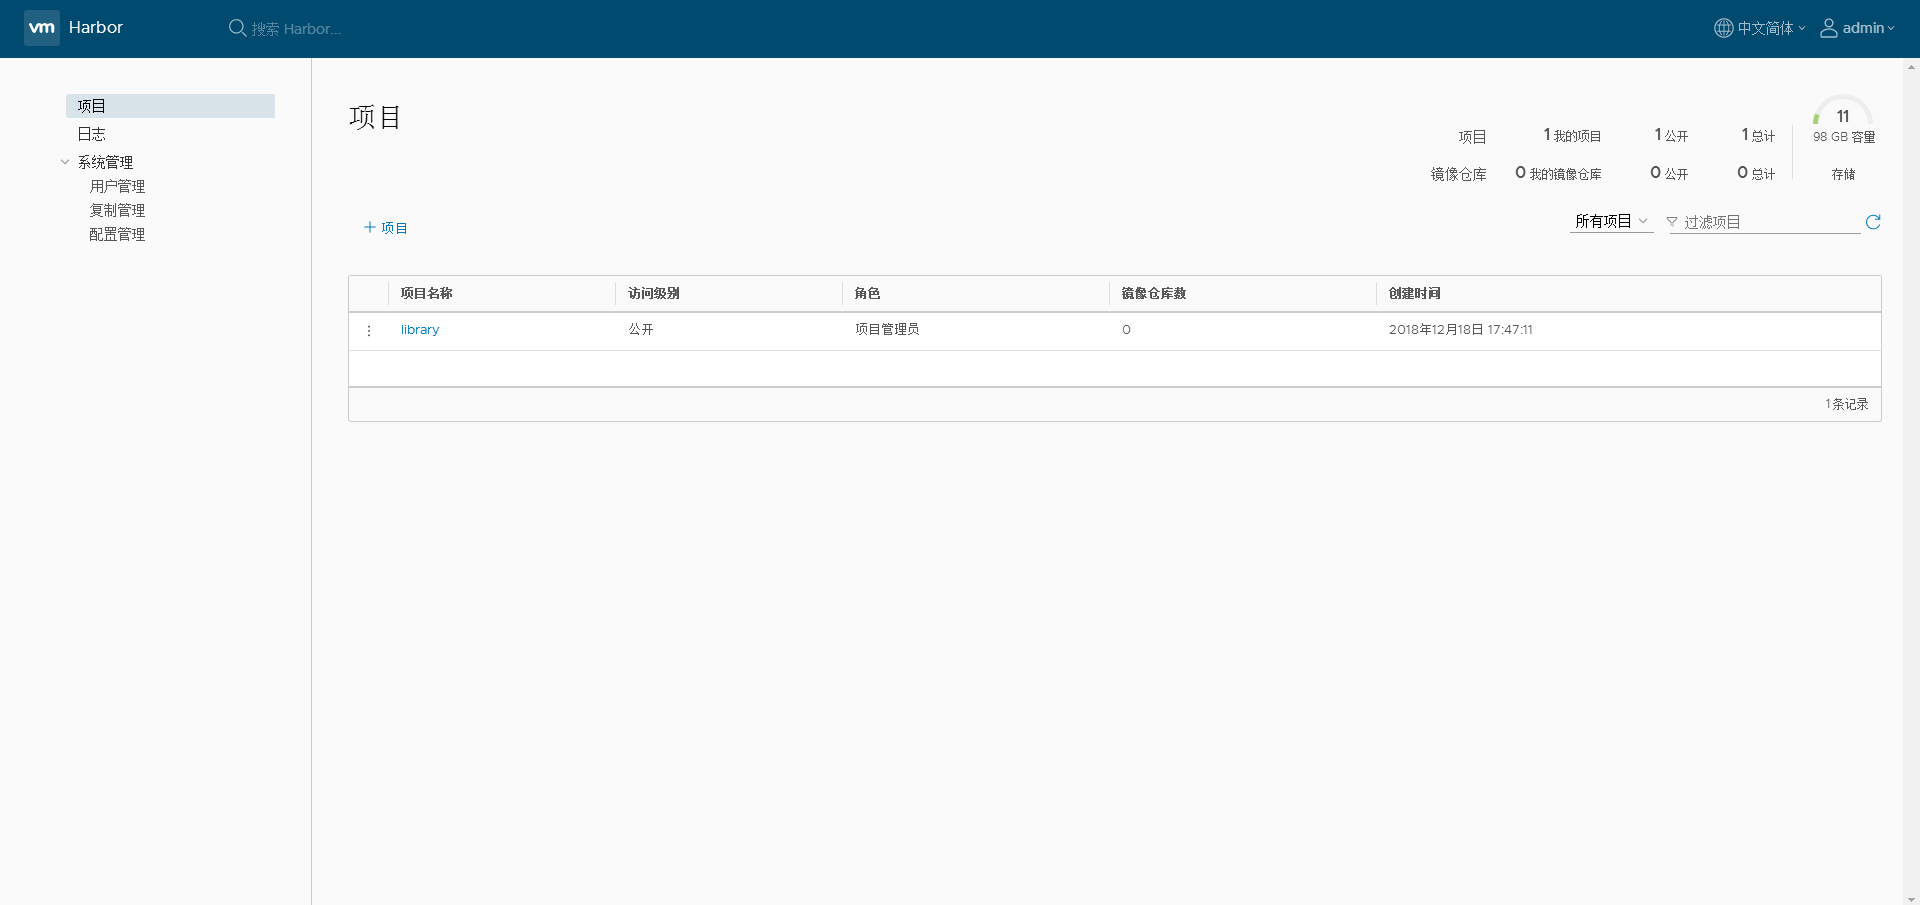
可以看到这边可以使用磁盘的整体容量,其他项目
项目:
- 新增/删除项目,查看镜像仓库,给项目添加成员、查看操作日志、复制项目等
日志:
- 仓库各个镜像create、push、pull等操作日志
系统管理:
- 用户管理:新增/删除用户、设置管理员等
- 复制管理:新增/删除从库目标、新建/删除/启停复制规则等
- 配置管理:认证模式、复制、邮箱设置、系统设置等
还有右上角的其他设置
- 用户设置:修改用户名、邮箱、名称信息
- 修改密码:修改用户密码
对于非系统管理员用户登录,只能看到有权限的项目和日志
项目
直接点击项目就能进行创建
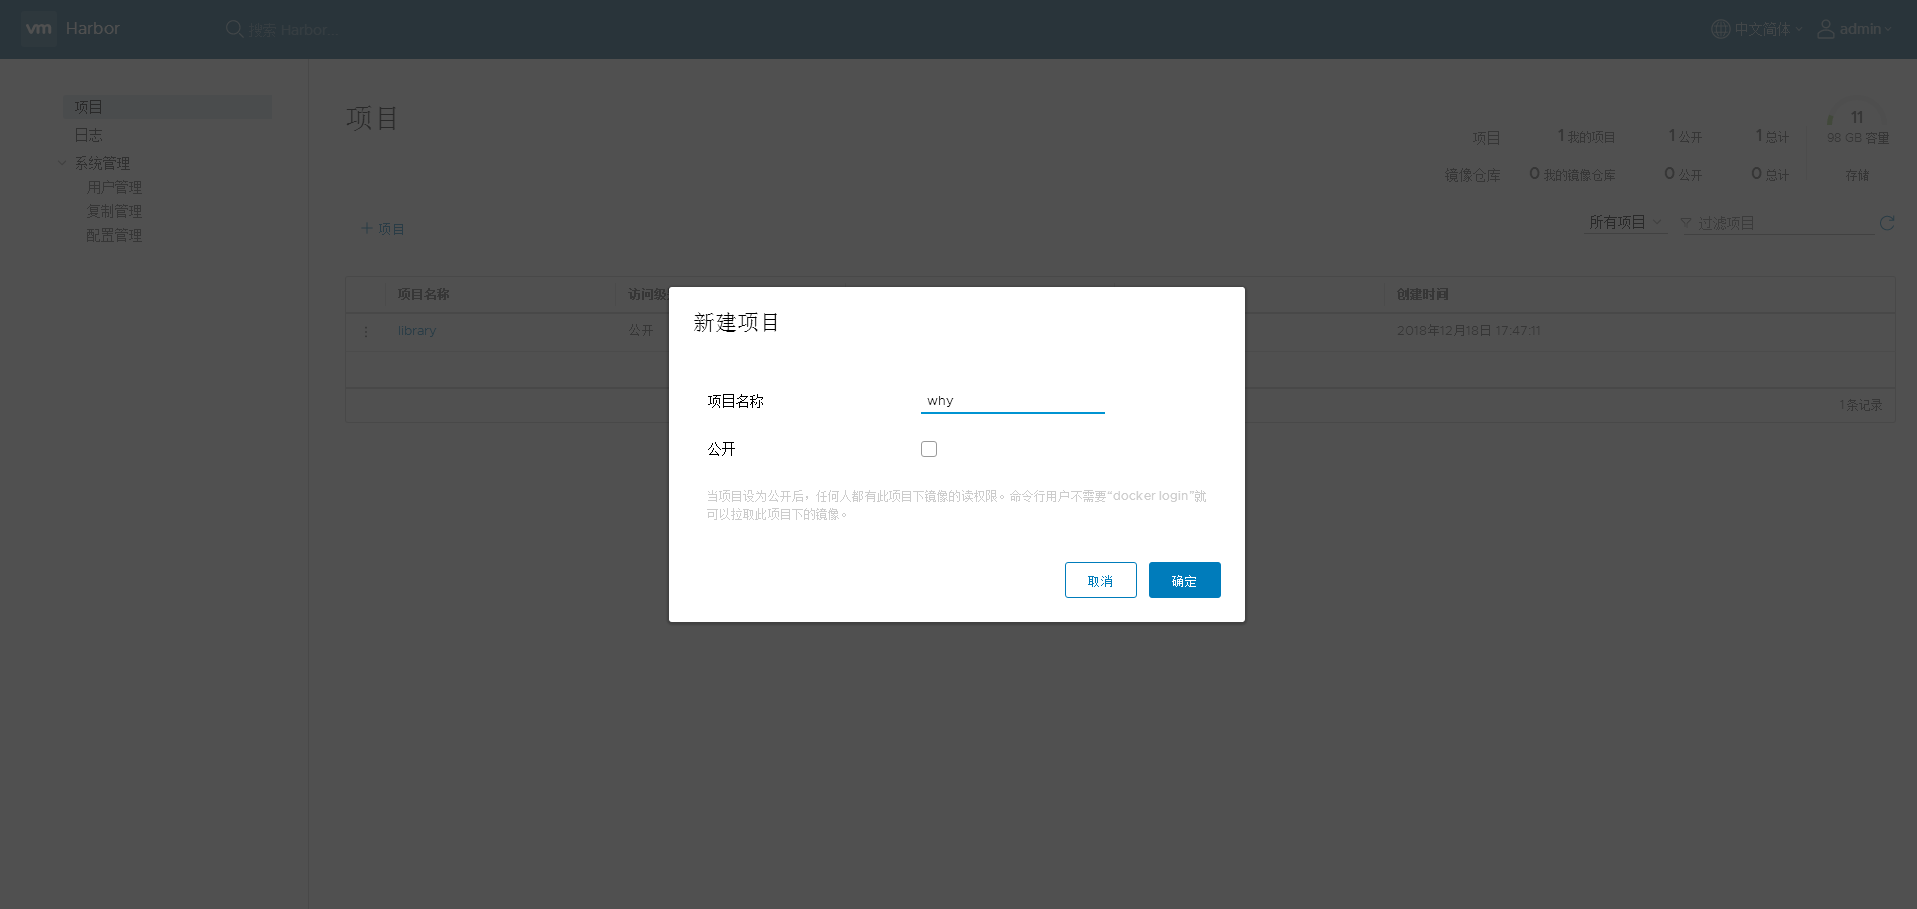
这边有提示,当项目设为公开后,任何人都有此项目下镜像的读权限。命令行用户不需要“docker login”就可以拉取此项目下的镜像。
上传镜像
$ docker login 10.50.8.34
Username: admin
Password:
WARNING! Your password will be stored unencrypted in /root/.docker/config.json.
Configure a credential helper to remove this warning. See
https://docs.docker.com/engine/reference/commandline/login/#credentials-store

Login Succeeded
其他主机需要拉取也需要把ca证书进行拷贝
$ docker images
REPOSITORY                  TAG                 IMAGE ID            CREATED             SIZE
openresty-php7              v0.11               67ee01743879        4 hours ago         649MB
$ docker tag openresty-php7:v0.11 10.50.8.34/why/openresty-php7:v0.11
$ docker push 10.50.8.34/why/openresty-php7:v0.11
The push refers to repository [10.50.8.34/why/openresty-php7]
4ffd6b02e151: Pushed
edc13bb799a3: Pushed
0c80f40e6b56: Pushed
2a5bb725f4b7: Pushed
071d8bd76517: Pushed
v0.11: digest: sha256:f68f067f935dffff1d06b45792736352fc3dd5c31239676331a0471f75ca1245 size: 1368
$ docker images
REPOSITORY                      TAG                 IMAGE ID            CREATED             SIZE
10.50.8.34/why/openresty-php7   v0.11               67ee01743879        4 hours ago         649MB
openresty-php7                  v0.11               67ee01743879        4 hours ago         649MB
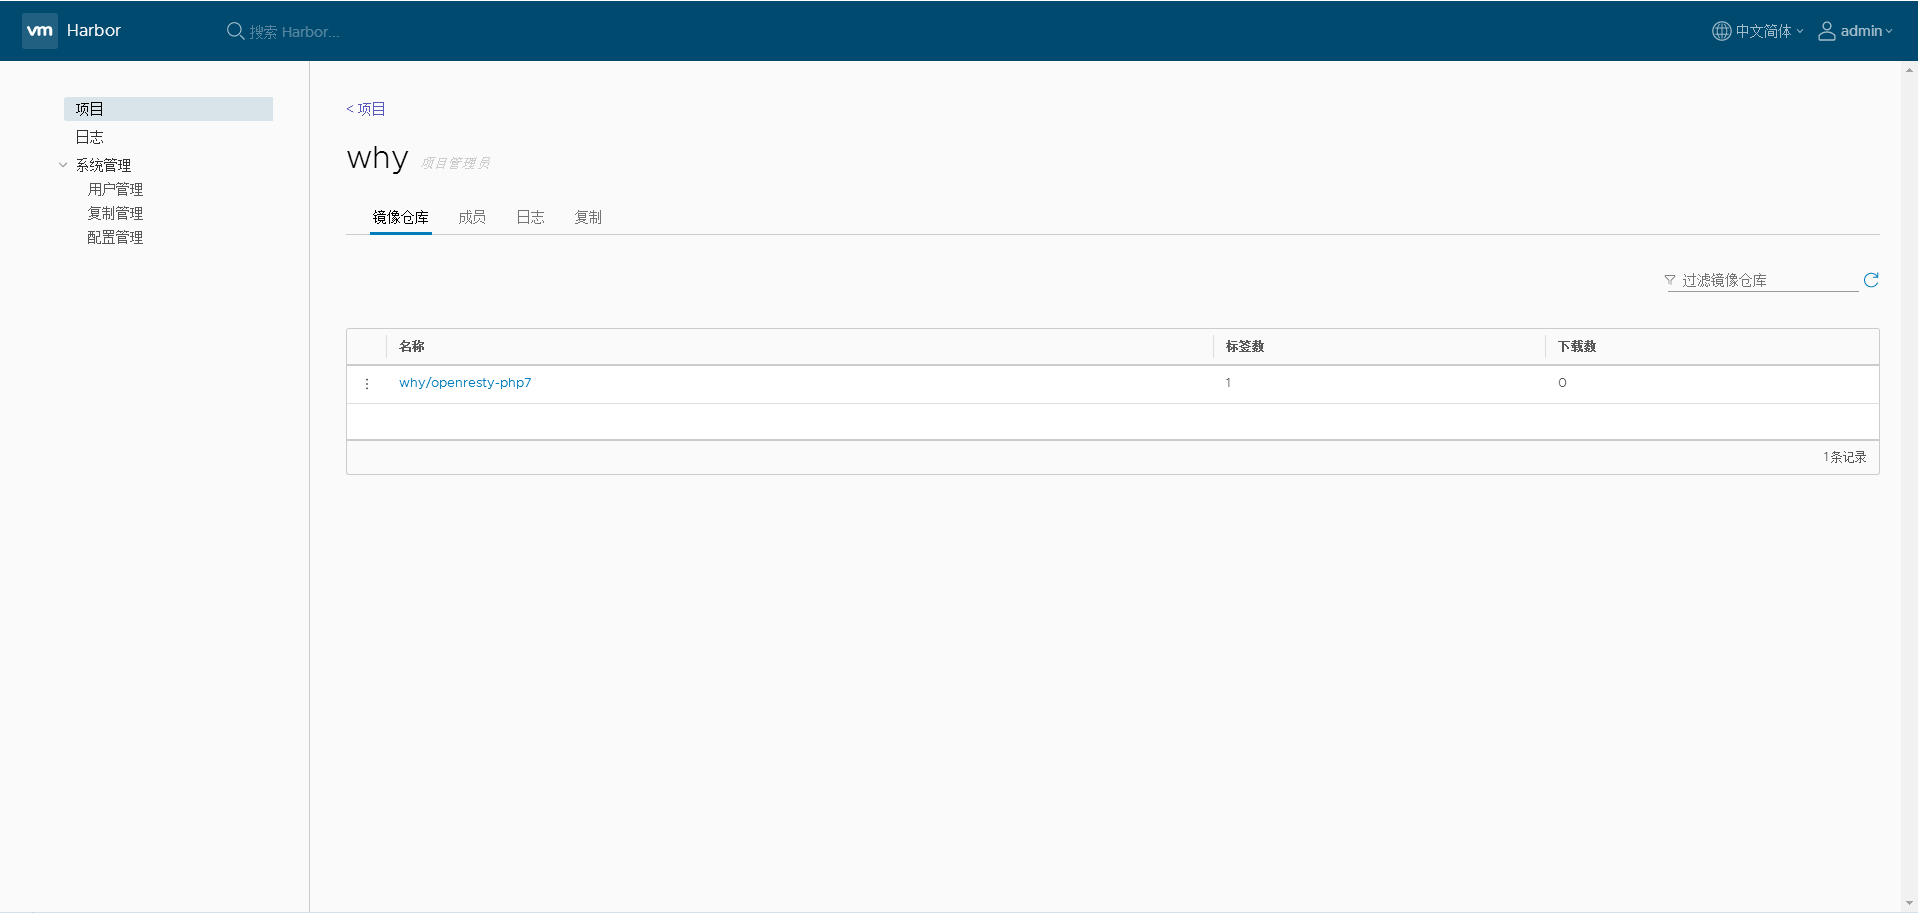
可以看到已经被上传的镜像
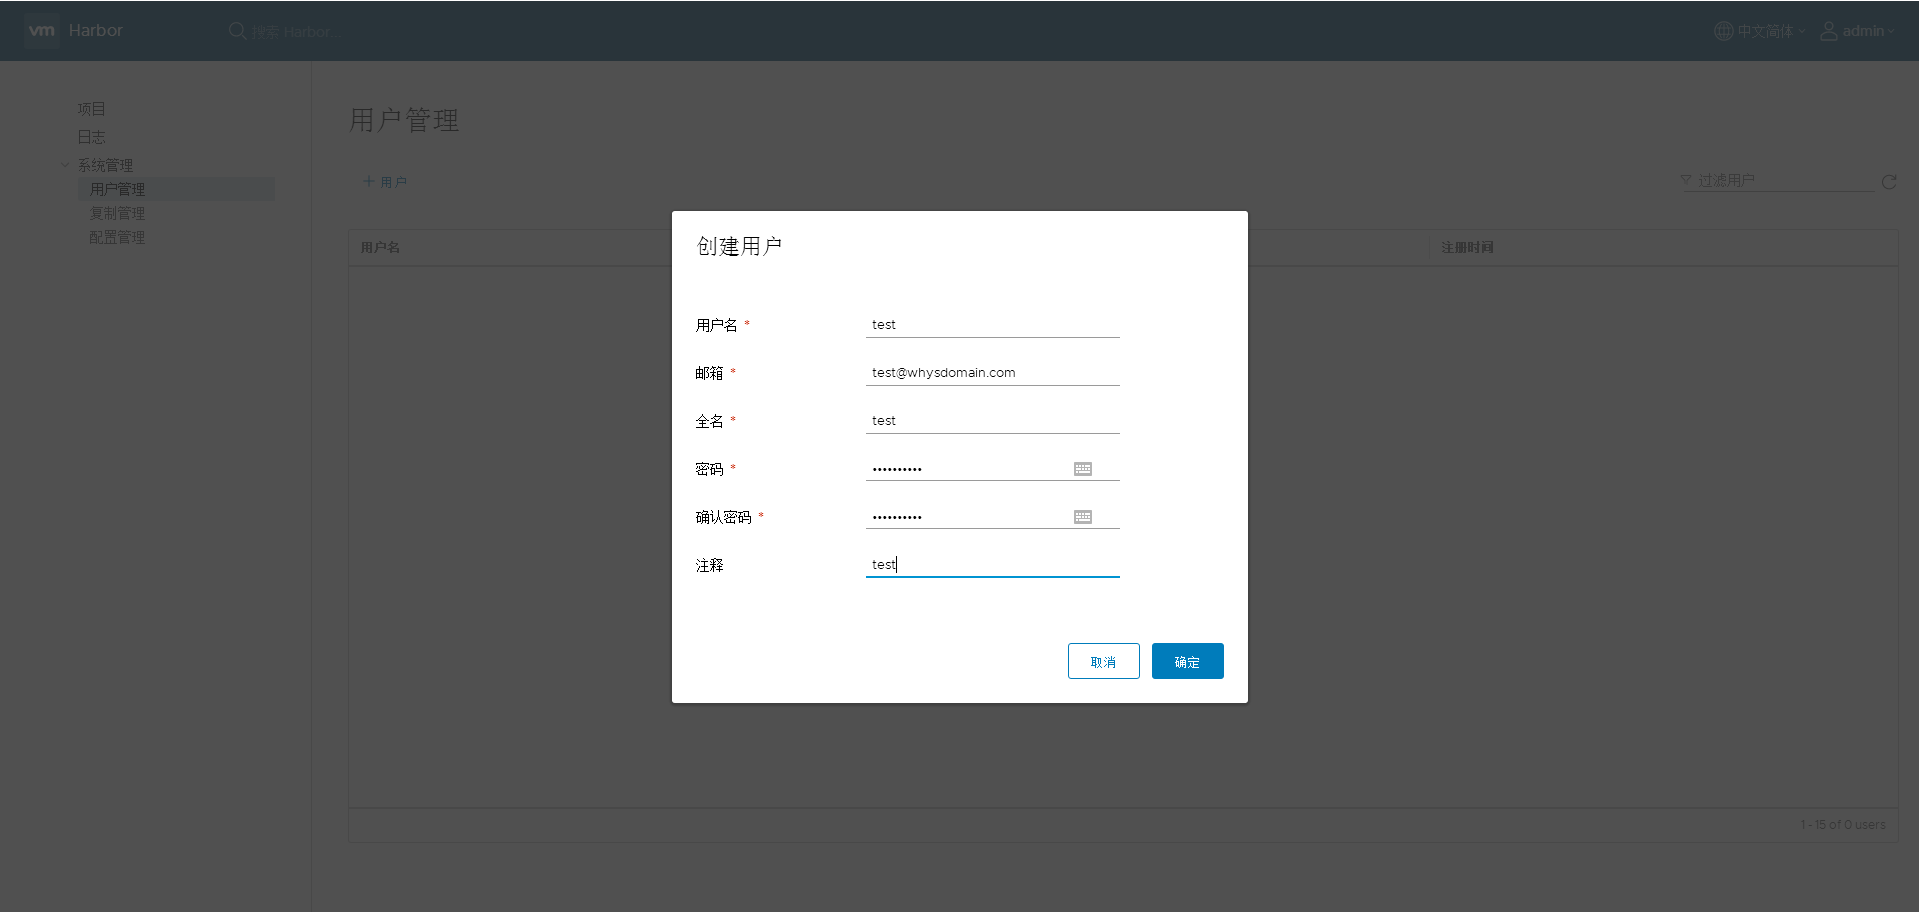
创建用户并分配权限
$ docker logout 10.50.8.34
Removing login credentials for 10.50.8.34
$ docker login 10.50.8.34
Username: test
Password:
WARNING! Your password will be stored unencrypted in /root/.docker/config.json.
Configure a credential helper to remove this warning. See
https://docs.docker.com/engine/reference/commandline/login/#credentials-store

Login Succeeded
$ docker tag openresty-php7:v0.11 10.50.8.34/why/openresty-php7:v0.12
$ docker push 10.50.8.34/why/openresty-php7:v0.12
The push refers to repository [10.50.8.34/why/openresty-php7]
4ffd6b02e151: Preparing
edc13bb799a3: Preparing
0c80f40e6b56: Preparing
2a5bb725f4b7: Preparing
071d8bd76517: Preparing
denied: requested access to the resource is denied
可以看到因为没有权限造成push失败了,这边需要将用户加入到项目中
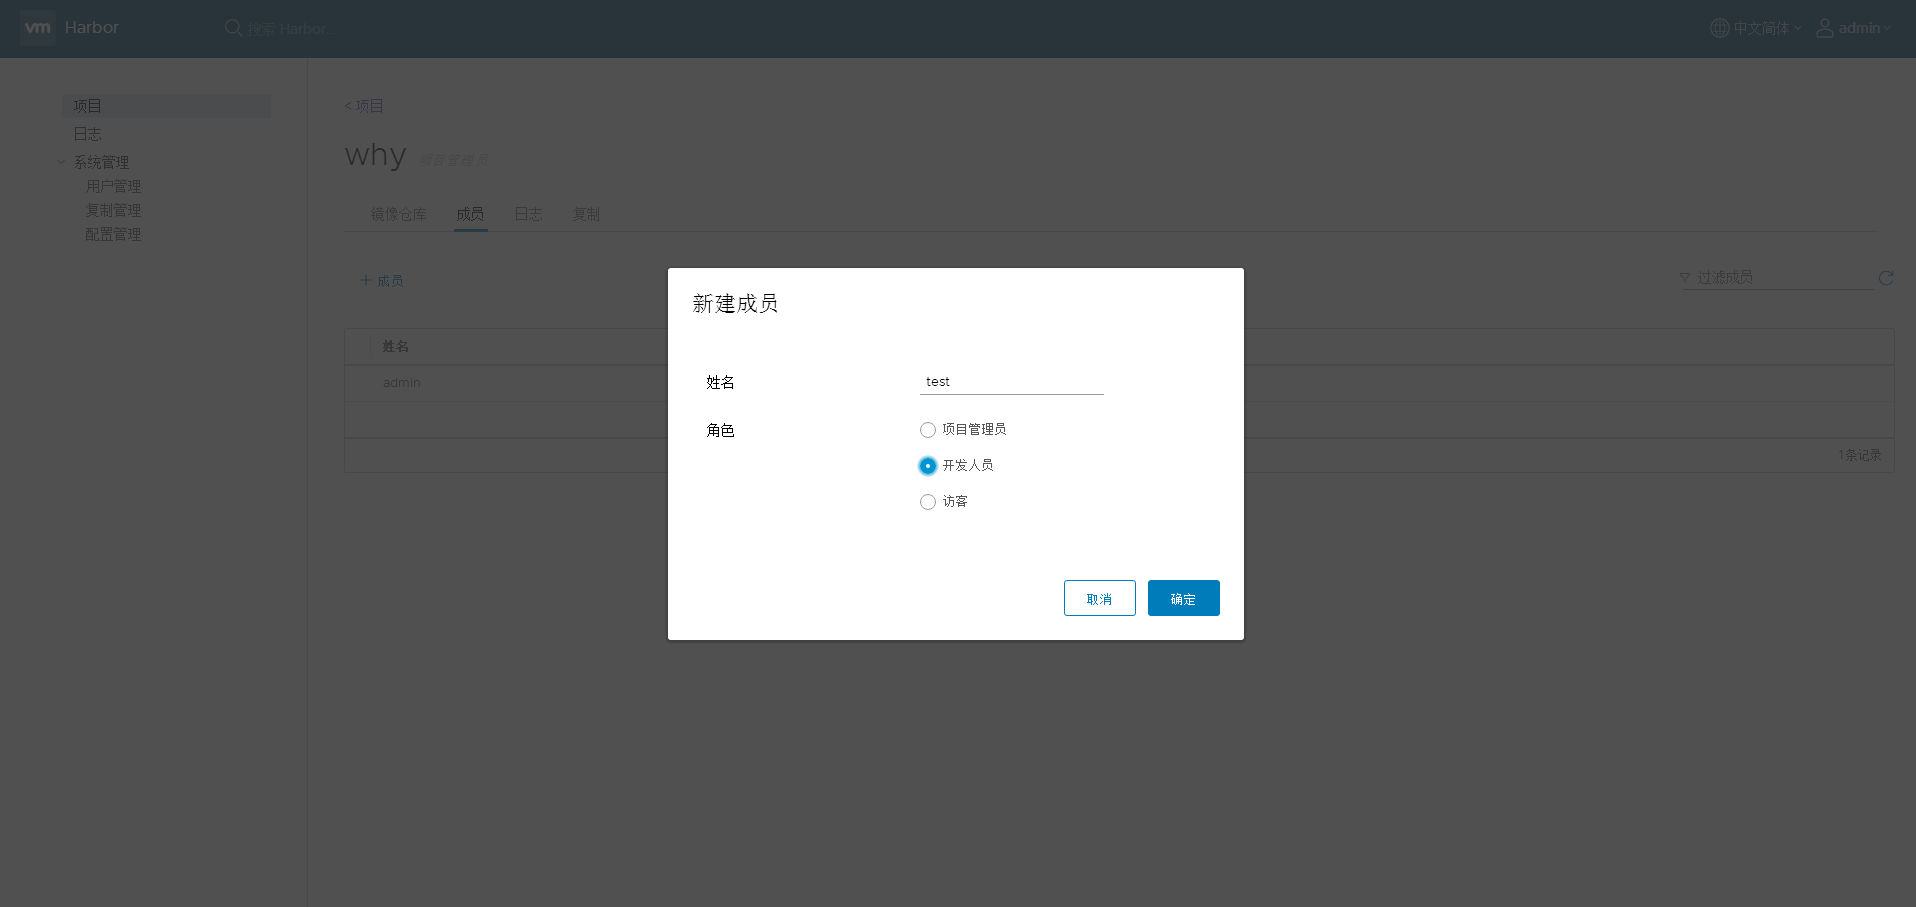
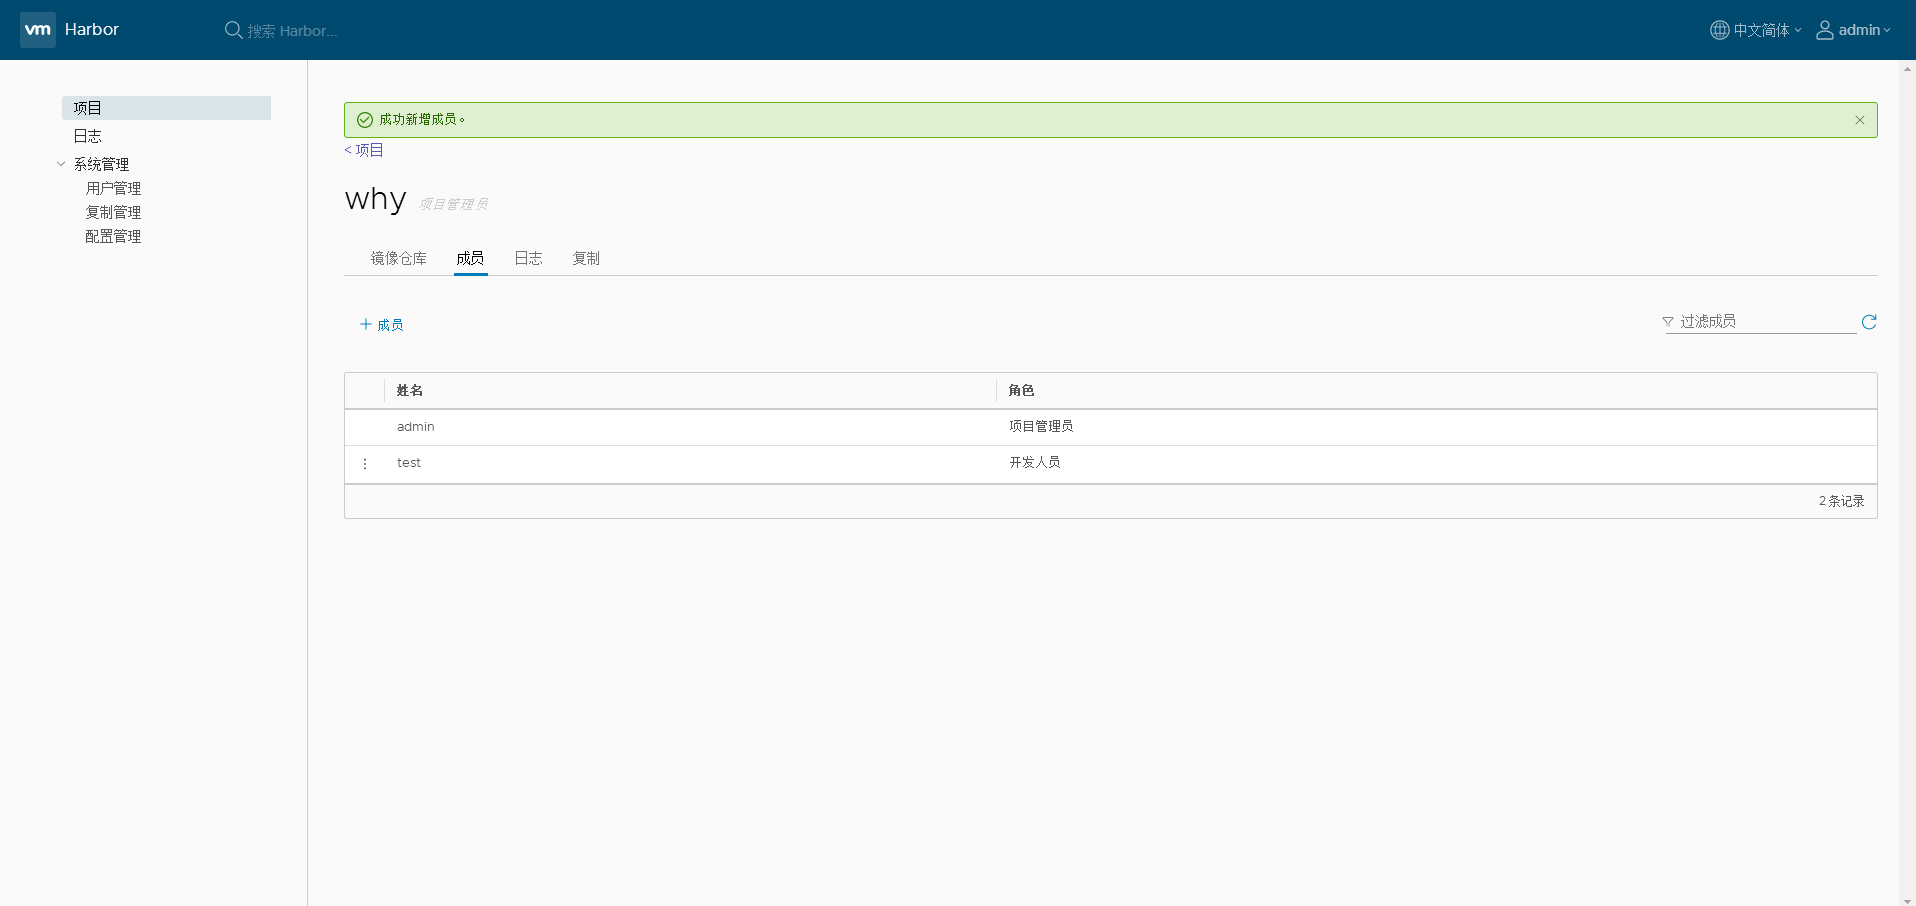
然后再push就可以了
$ docker push 10.50.8.34/why/openresty-php7:v0.12
The push refers to repository [10.50.8.34/why/openresty-php7]
4ffd6b02e151: Layer already exists
edc13bb799a3: Layer already exists
0c80f40e6b56: Layer already exists
2a5bb725f4b7: Layer already exists
071d8bd76517: Layer already exists
v0.12: digest: sha256:f68f067f935dffff1d06b45792736352fc3dd5c31239676331a0471f75ca1245 size: 1368
其他机器拉取镜像
修改配置文件/usr/lib/systemd/system/docker.service,并且拷贝ca文件到/etc/pki/ca-trust/source/anchors/
[Service]
Type=notify
ExecStart=/usr/bin/dockerd -H unix:// --insecure-registry 10.50.8.34
进行登录并下载镜像
$ docker login 10.50.8.34
Username: admin
Password:
WARNING! Your password will be stored unencrypted in /root/.docker/config.json.
Configure a credential helper to remove this warning. See
https://docs.docker.com/engine/reference/commandline/login/#credentials-store

Login Succeeded
$ docker images
REPOSITORY          TAG                 IMAGE ID            CREATED             SIZE
$ docker pull 10.50.8.34/why/openresty-php7:v0.12
v0.12: Pulling from why/openresty-php7
a02a4930cb5d: Pull complete
9b40236212ce: Pull complete
8cad637418d8: Pull complete
9a4855d7ed74: Pull complete
73a9c3a2ac72: Pull complete
Digest: sha256:f68f067f935dffff1d06b45792736352fc3dd5c31239676331a0471f75ca1245
Status: Downloaded newer image for 10.50.8.34/why/openresty-php7:v0.12
$ docker images
REPOSITORY                      TAG                 IMAGE ID            CREATED             SIZE
10.50.8.34/why/openresty-php7   v0.12               67ee01743879        42 hours ago        649MB
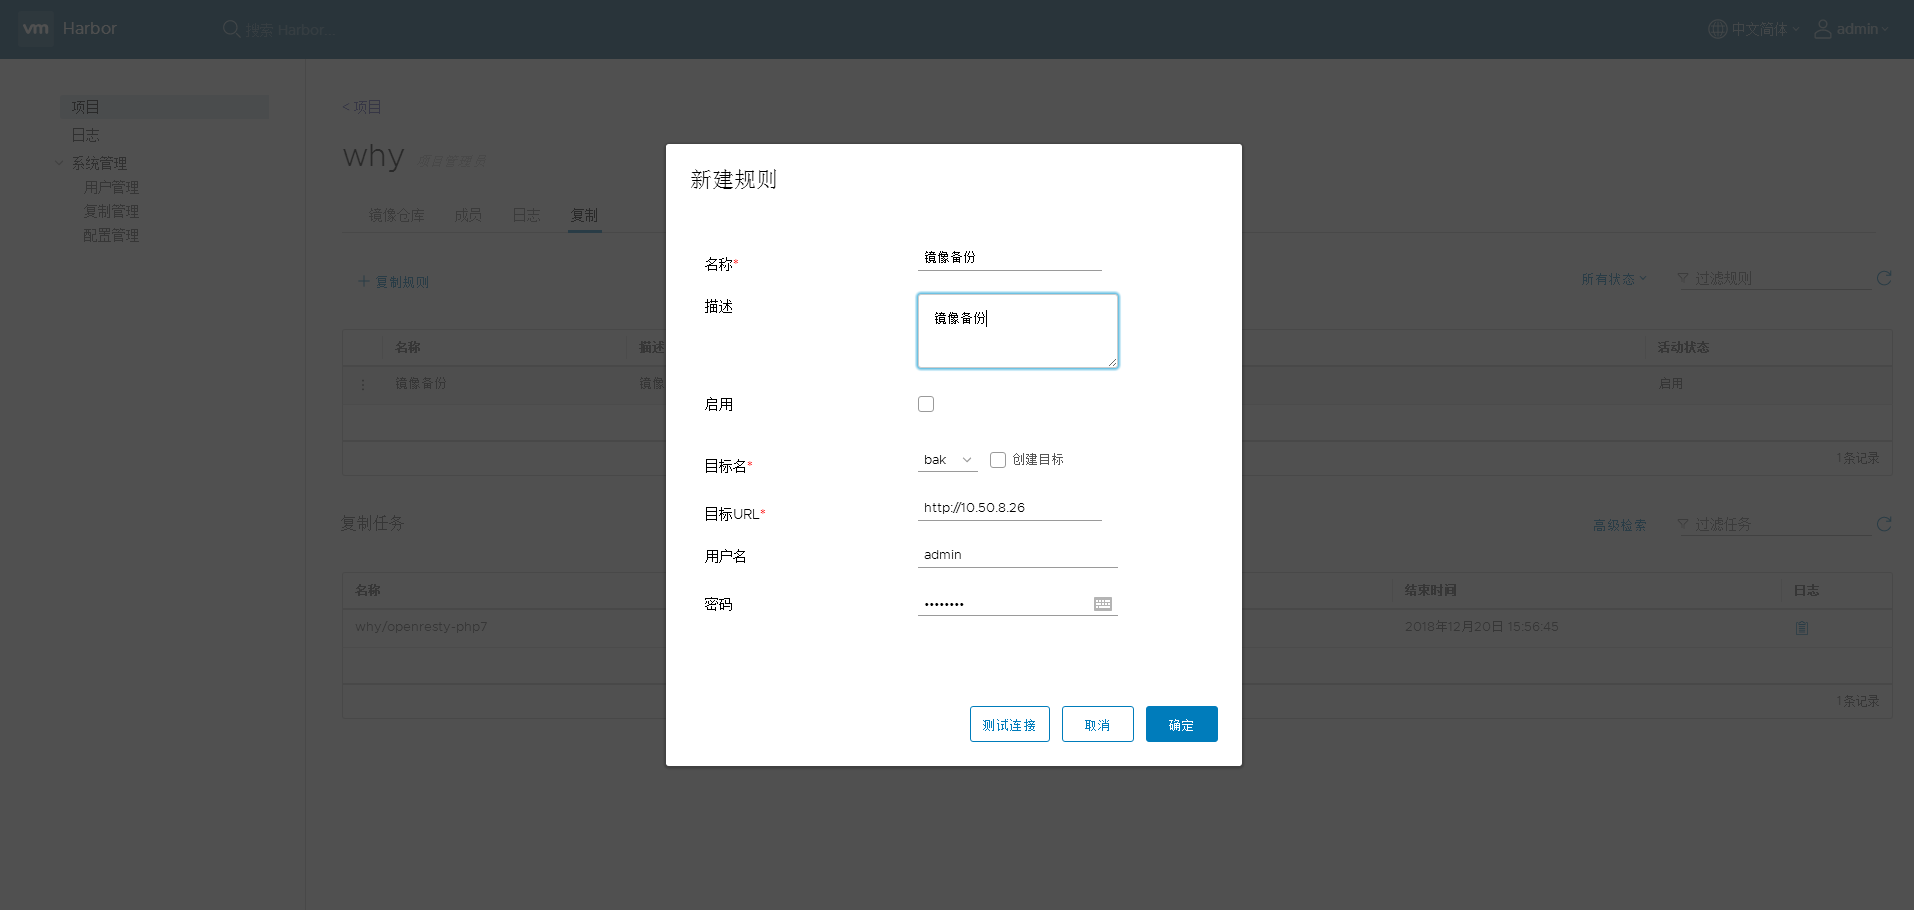
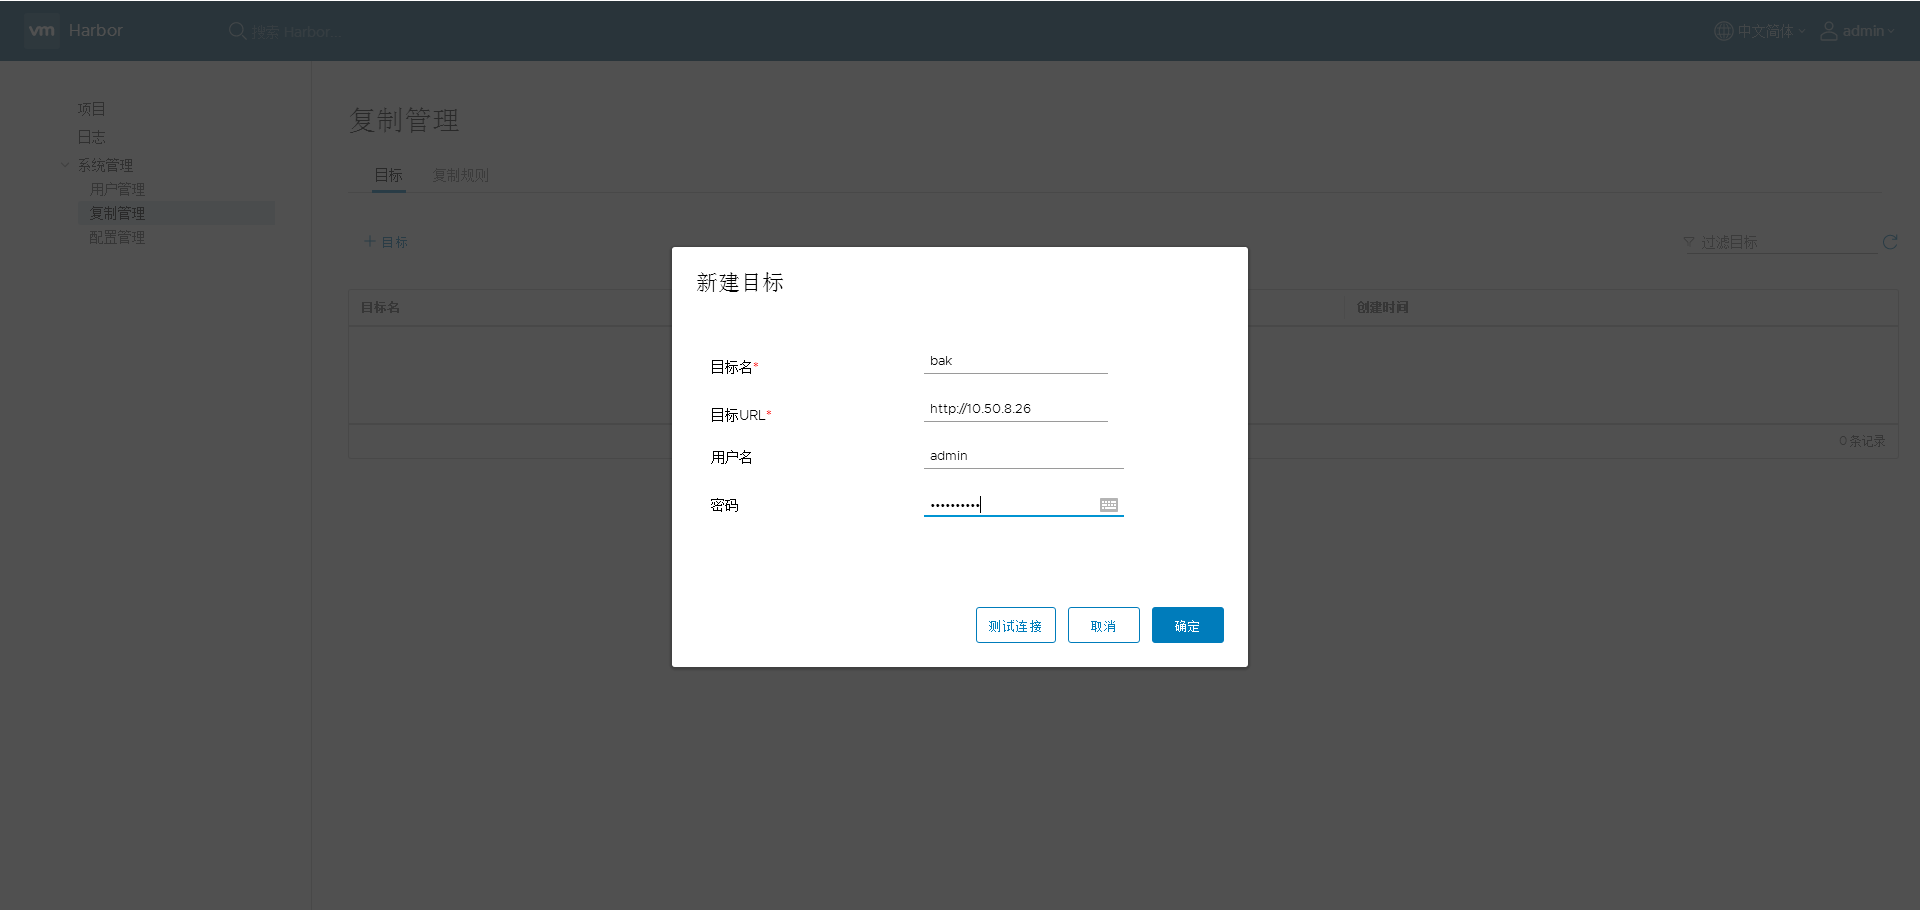
镜像同步
这边我准备了两台机器,IP分别10.50.8.26和10.50.8.34
创建复制目标
创建复制规则